Nesting with Arrange#
After we design something to be cut out with a large format CNC or a lasercut, we have to lay out all parts (components) flat and optimize the layout to minimize the material waste, so-called, Nesting.
Nesting can be done manually, or automatically using add-on like, NESTER. You can also do it with other applications like, Deepnest, SVGnest, etc.
August product update in Fusion 360 introduced a preview feature called Arrange, which is able to do nesting without any other add-ons or software.
Here’s short introduction how to use Arragen for nesting.
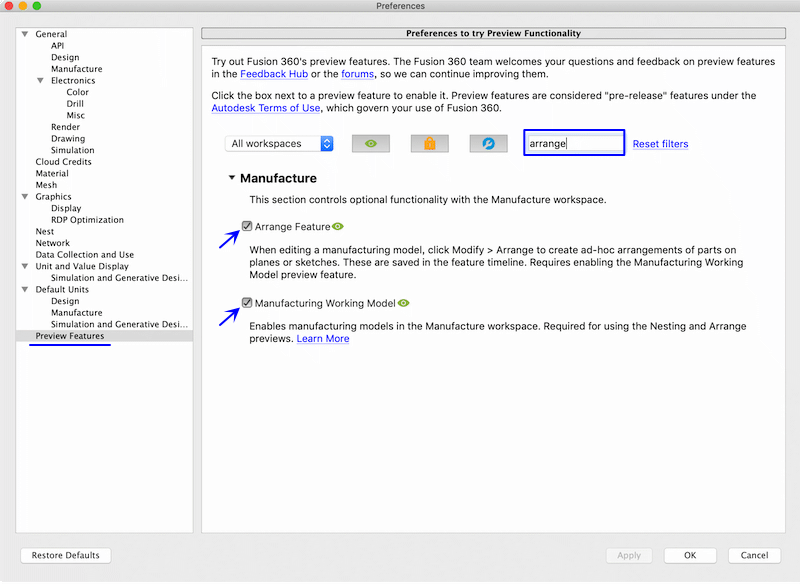
Arrange feature is still one of previwe fieatures. To try it, go to preferences > Preview Features and turn on Arrange Feature and Manufacturing Working Model.
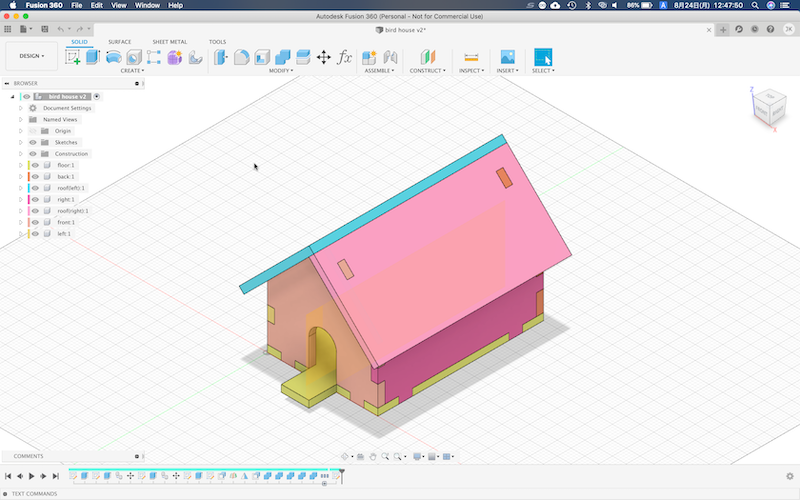
Now you have designed somothing to nest. I made a bird house based on this instruction(Manual nesting procedure in the video is worthwhile watching).
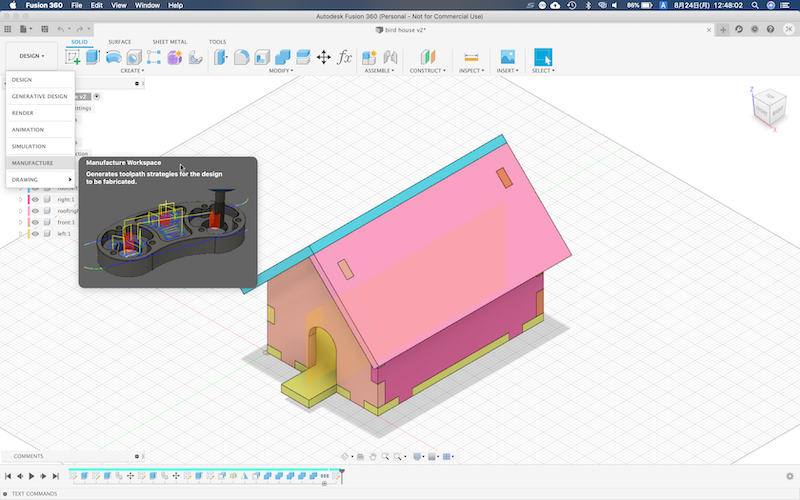
Go to MANUFACTURE mode
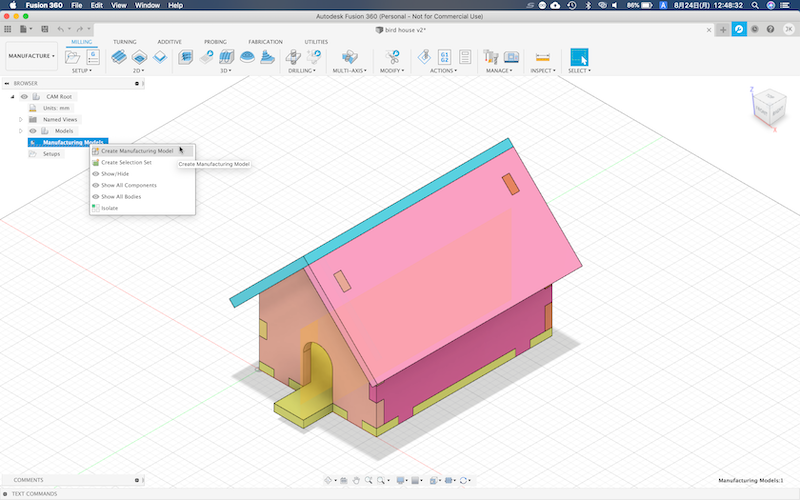
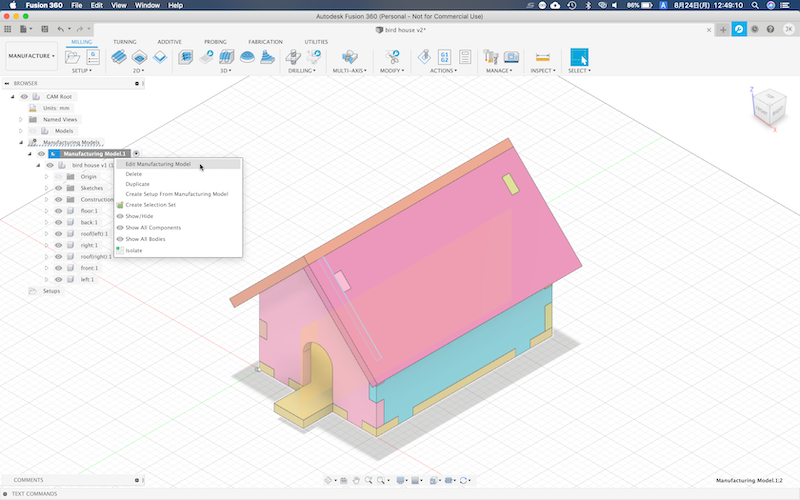
Then, Create Manufacturing Model.
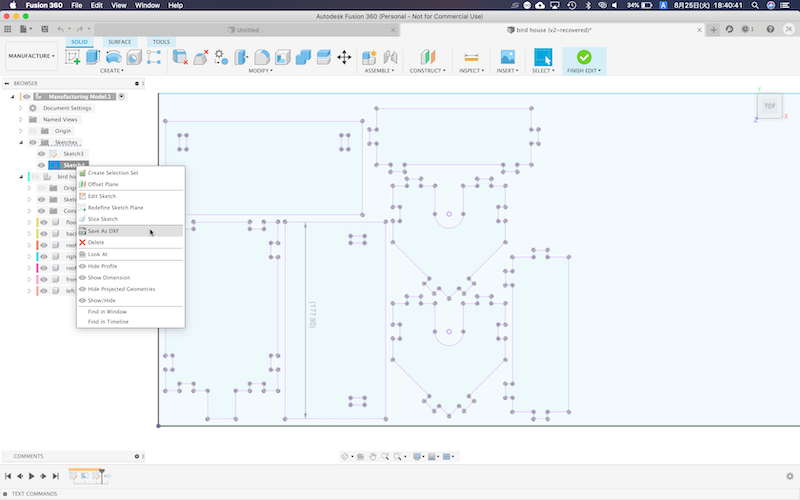
Right click the Manufacturing Model and select Edit Manufacturing Model.
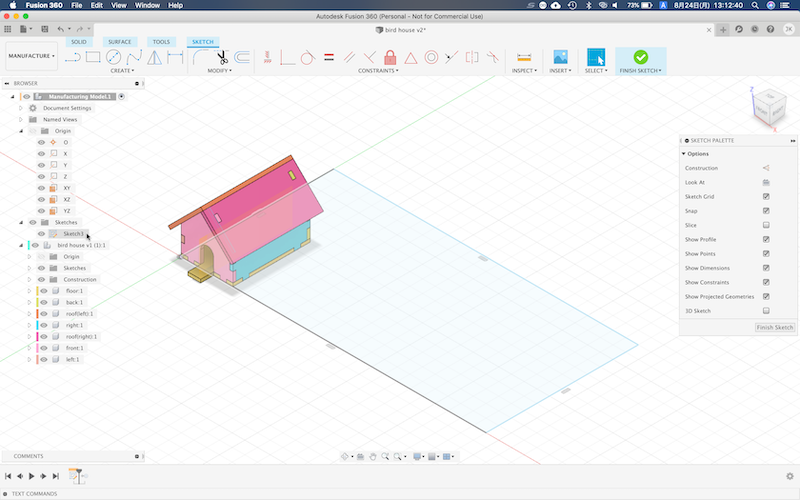
It is no necessary, but create a sketch on which you are going to lay out all parts flat. For example, a worksize of your lasercutter or a material to use.
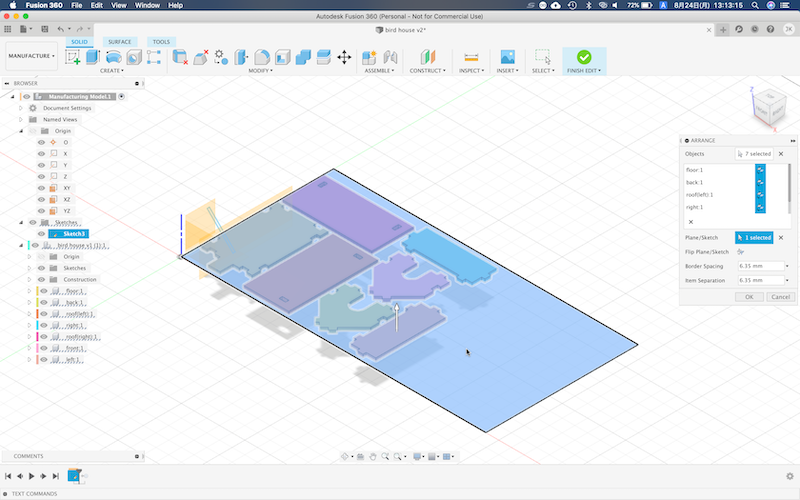
Go to SOLID > MODIFY > Arrange
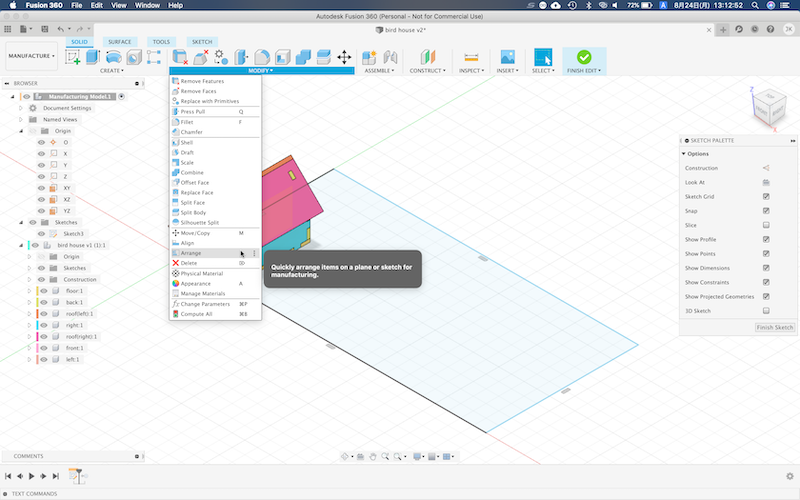
Select all parts you want to lay out flat.
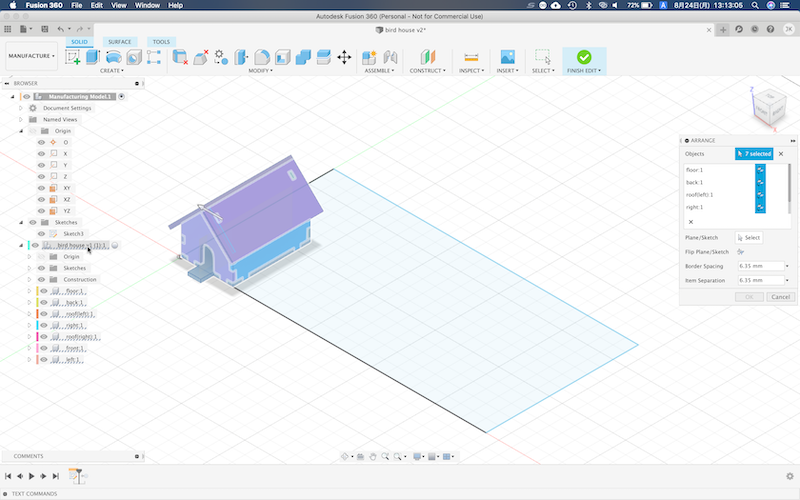
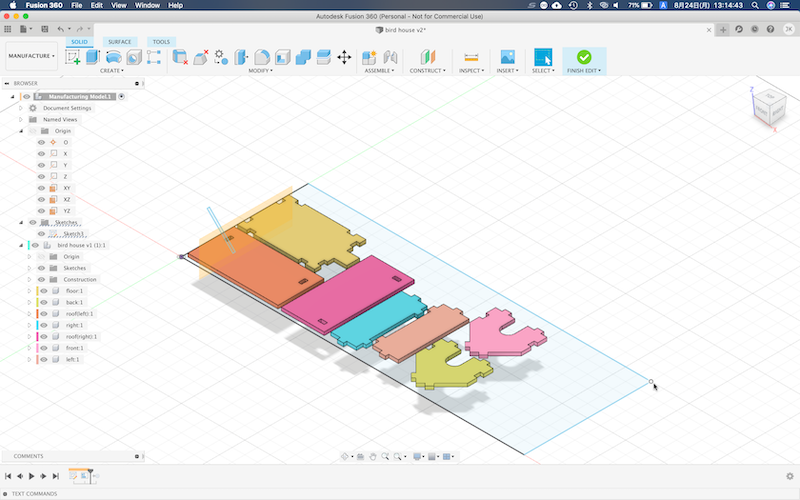
Then, select a plane or a sketch as the arrangement boundary, on which selcted parts should be laid out. If you didn’t create a sketch, just select a plane (eg. XY plane). Click OK, and all parts will be laid out within a sketch you selected. If you see an error message, a sketch area is not large enough to nest. Change the sketch dimension.
Arrange feature will automatically rearrange the layout when you change the sketch.
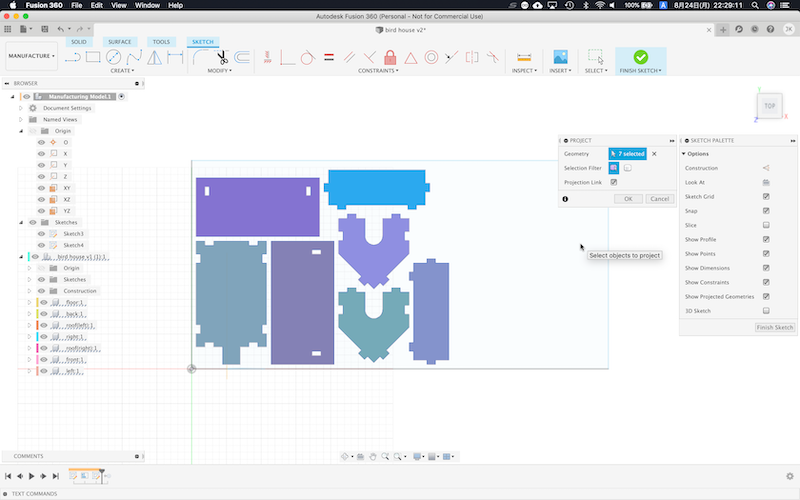
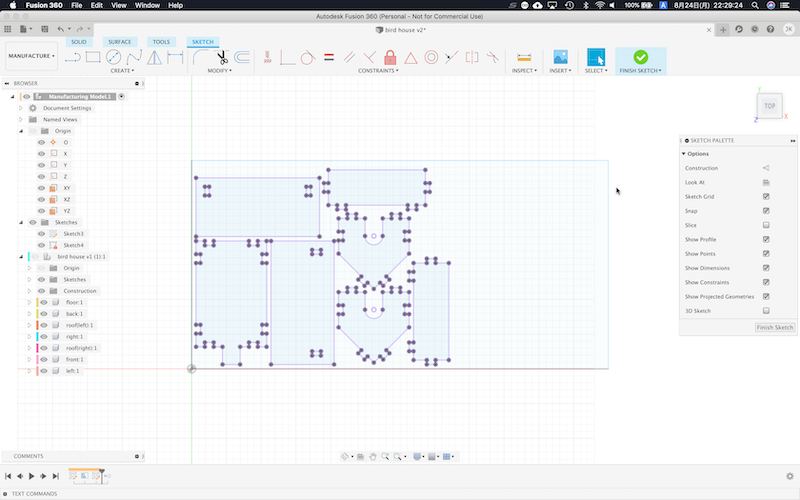
Project the edge of the parts on a sketch.
Now you are ready to export the sketch.
Export as DXF
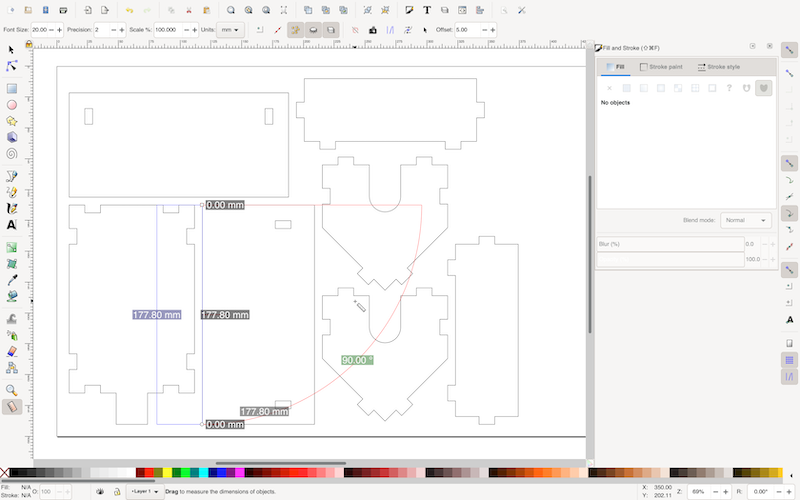
Open the DXF file with Inkscape to lasercut.
references#
- August 2020 Product Update – What’s New - Fusion 360 Blog / Autodesk
- Build a bird house with Fusion 360 Part 1 ( the basic house - Jim Yost / YouTube
- Fusion 360 - Auto arrange parts on sheet - Product Design Online / YouTube
- Nest in Fusion 360 + Manufacturing Model Preview - Portland CNC / YouTube